
Silicone Keypad Manufacturing: Inside the Factory
Silicone keypad manufacturing is a multi-step physical process that requires strict control over temperature, pressure, and material chemistry to ensure batch-to-batch consistency.
- A transparent look at our physical production process
- From raw material mixing to final quality inspection
- Engineered for consistency, durability, and tactile precision
STEP 1: Material Preparation & Mixing
Before molding begins, raw silicone rubber must be properly compounded.
Color Matching
Pigments are added to clear or translucent silicone bases to match precise Pantone or RAL colors.
Vulcanizing Agents
Curing agents are milled into the silicone to ensure proper cross-linking during molding.
Preforming
The mixed silicone is extruded and cut into precisely weighed strips matched to the mold cavity.
STEP 2: Compression Molding
This is the core forming process where the keypad takes its physical shape. The hydraulic press applies high pressure at 160°C – 180°C.
- Conductive Pill Placement: If required, carbon/gold pills are placed into the mold cavity pins.
- Vulcanization: The silicone preform is loaded.
- Pressing: Material flows to fill fine webbing that dictates actuation force.
- Demolding: Hot keypad sheets are carefully removed (1–5 min cycle).
STEP 3: Post-Curing (Secondary Vulcanization)
Baked at 200°C for 2 to 4 hours.
Why is this critical? It eliminates volatile organic compounds (VOCs), stabilizes rebound and hardness, and ensures no odor. Strictly required for medical and food-grade industrial parts.
STEP 4: Surface Finishing & Legends
Depending on the visual and functional design, keypads move to specific surface treatment lines.
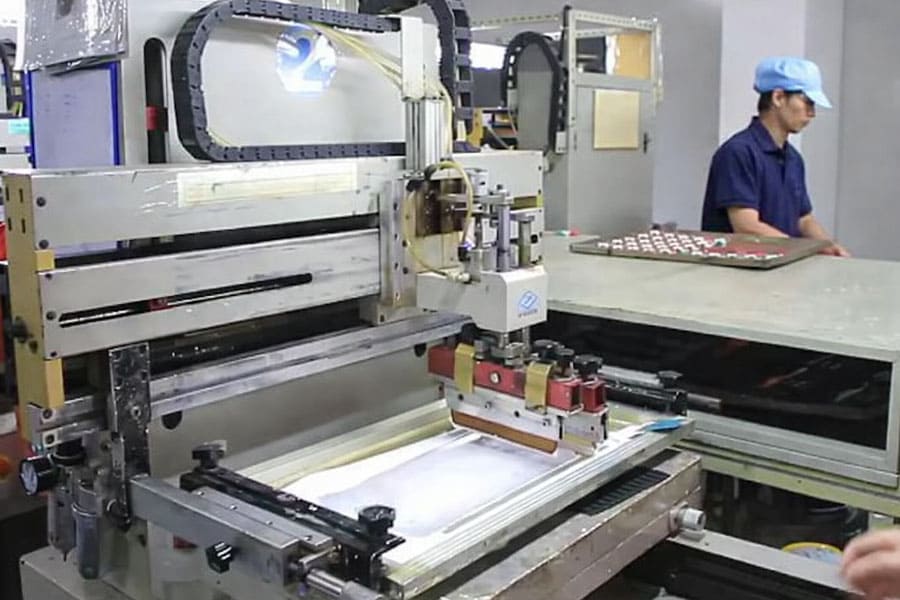
Silk Screen Printing
Applying standard colored text and symbols onto the keytop surface.
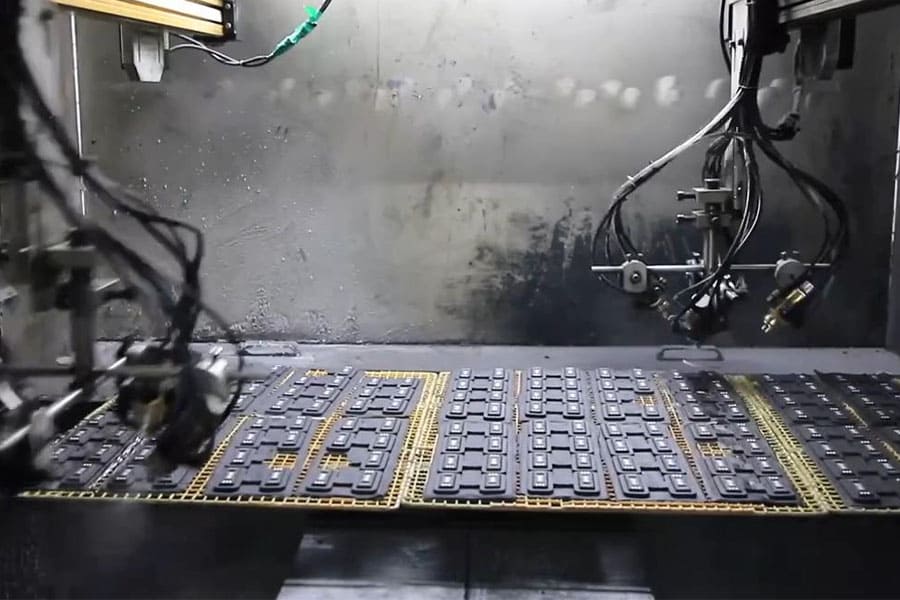
Spray Coating
Applying opaque color layers, or protective clear coats (Matte oil / PU) for wear resistance.
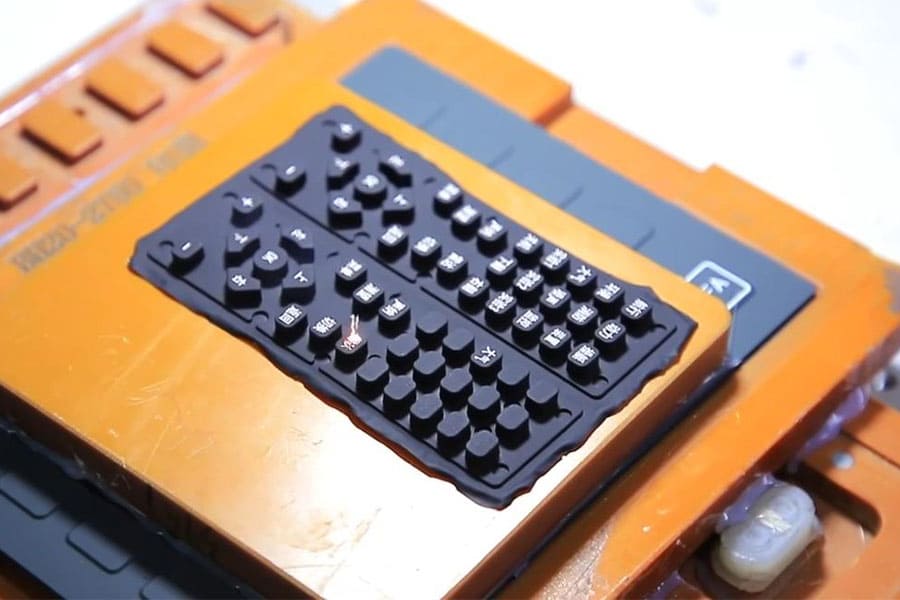
Laser Etching
Burning away top opaque coating to expose translucent silicone for illuminated legends.
Epoxy Doming
Clear epoxy resin cures into a hard, glossy dome for premium aesthetics and protection.
STEP 5: Deflashing and Trimming
Molded keypad sheets have excess material (flash) around the edges.
Tearing (Standard)
For standard designs, the flash is designed to be easily torn away by hand without damaging the part.

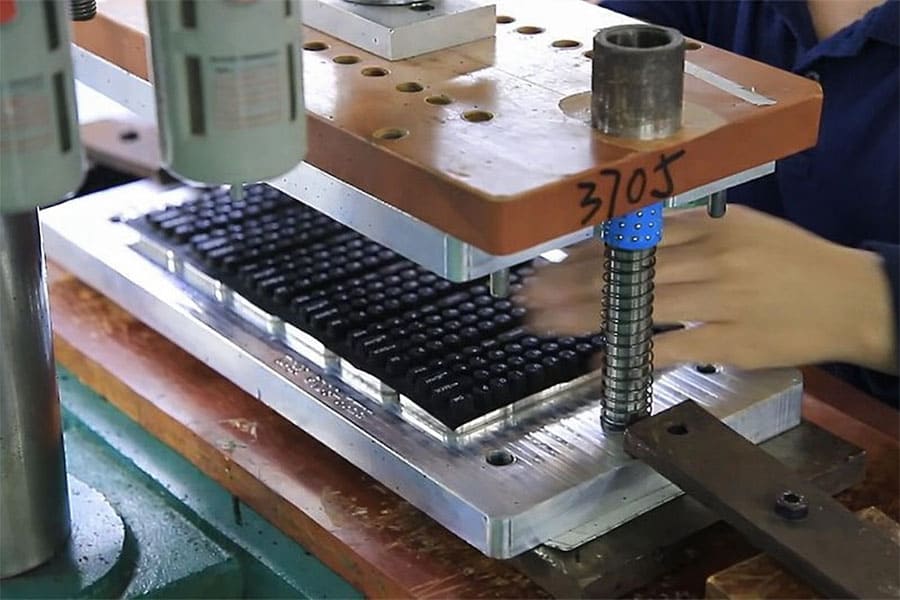
Die Cutting (Precision)
For parts with complex outlines, mounting holes, or strict edge tolerances, precision punching machines (die cutters) are used to stamp out the final shape accurately.
Before any batch leaves the factory, it undergoes strict testing:
| Test Category | Key Metrics Checked |
|---|---|
| Visual & Dimensional | Flash residues, contamination, color consistency, print alignment. |
| Mechanical (Tactile) | Actuation force (e.g., 150g ±10g), snap ratio, travel via curve testers. |
| Electrical | Contact resistance of carbon/gold pills (<150 ohms). |
| Durability | RCA abrasion testing, alcohol rub tests, lifecycle actuation (1M+ hits). |
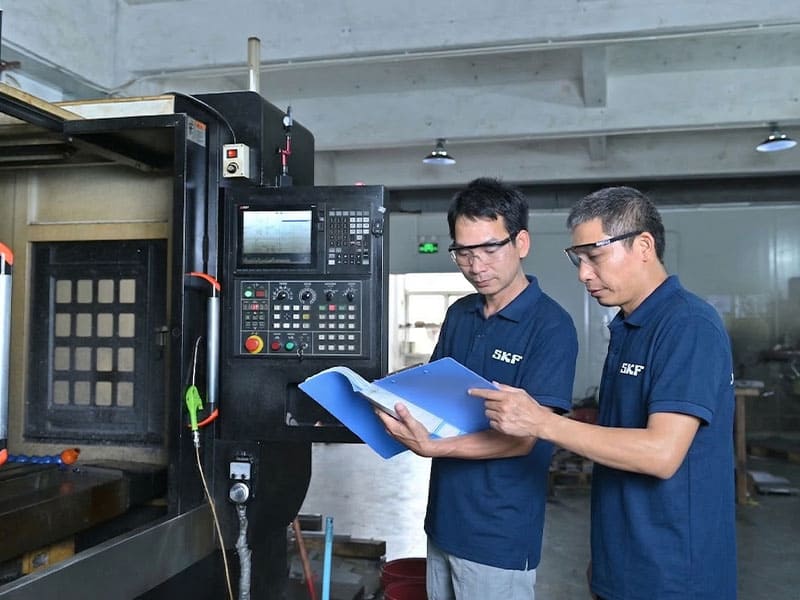
From Concept to Shop Floor
Understanding how a keypad is physically made helps in designing better, more reliable products.
If you want to see how we translate your 2D/3D drawings into tooling and manufacturable prototypes before mass production begins, visit our Customization page for a step-by-step guide to our engineering process.
If you want to see how silicone keypads are produced, explore our Silicone Keypad Manufacturing Videos for insights into the production process.